Reading Modbus TCP meter
Description
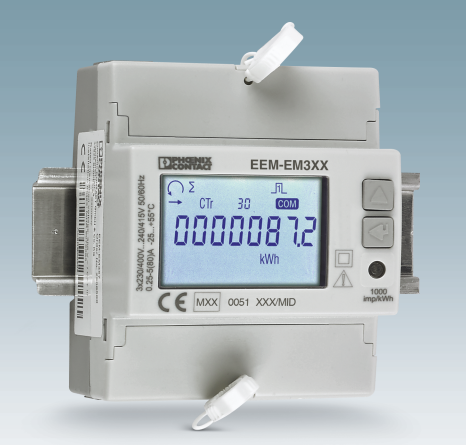
This article describes The Vinci Software configuration steps to read Modbus TCP meter. The Phoenix Contact EM377 meter will be used.
Initial Set-Up
Before you begin, make sure you have completed all physical meter installation work according to the manufacturer's installation instructions.
To set up your computer and make sure the meter that you want to collect data from is reachable by TCP from your computer. You also need to have The Vinci Software installed.
Once everything is setup you can open The Vinci Software and the configuration process will begin.
Vinci Configuration
After the ethernet cable has been connected it's time to open The Vinci Software and start configuring the Modbus TCP Master parameters. Since The Vinci Expert will read data from the meter when the software is started just select the Modbus TCP protocol and select Master mode.
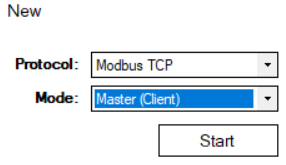
Fig. 1. Selecting Protocol and Mode.
Now it's time to enter the IP and Port of the meter they are located at the top of the window to the right of the green start button. The default port is 502 and that is the default for Modbus TCP. After you enter the IP you can press the ping button to check if the meter is reachable.

Fig. 2. Configuring settings according to SCADA
If the Meter does not respond to the pings check the connections and the meter ethernet configuration.
Now it is time to establish a Modbus connection to the meter by pressing the start button. If everything is connected properly and the meter is setup according to your network the console tab should look like the one in the figure depicted below.
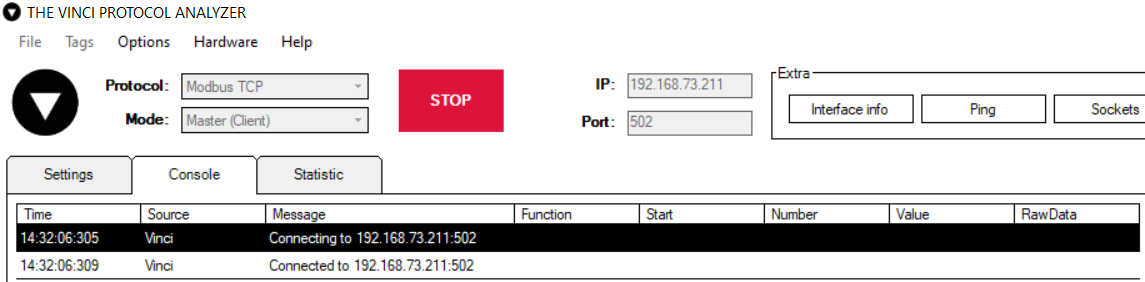
Fig. 3. Connection Established
Now it is time to read the data from the meter. To do that click on the jobs tab and then press the Add button. 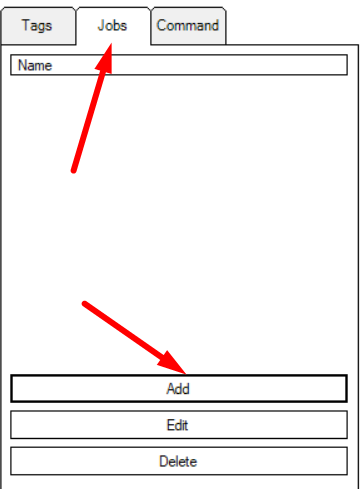
A window should pop up then enter the configuration depicted in figure 5 and press save. Now the vinci software will start reading the registers of the meter.
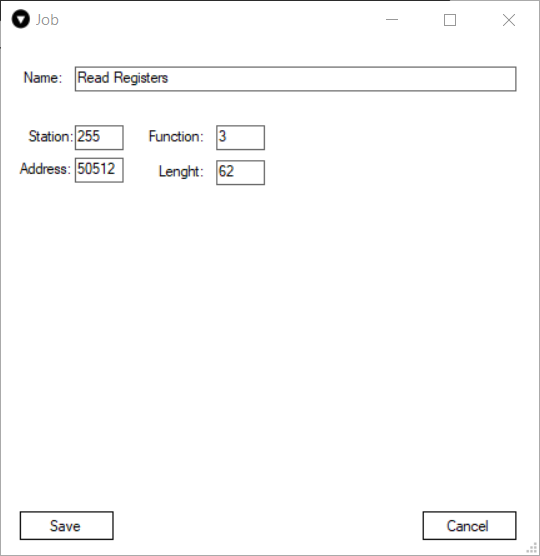
This configuration is specifically tailored to the Phoenix Contant EMM-EM3XX Meter family. If a different meter is used addresses and values may be different. Please refer to the manual of the meter you are using.
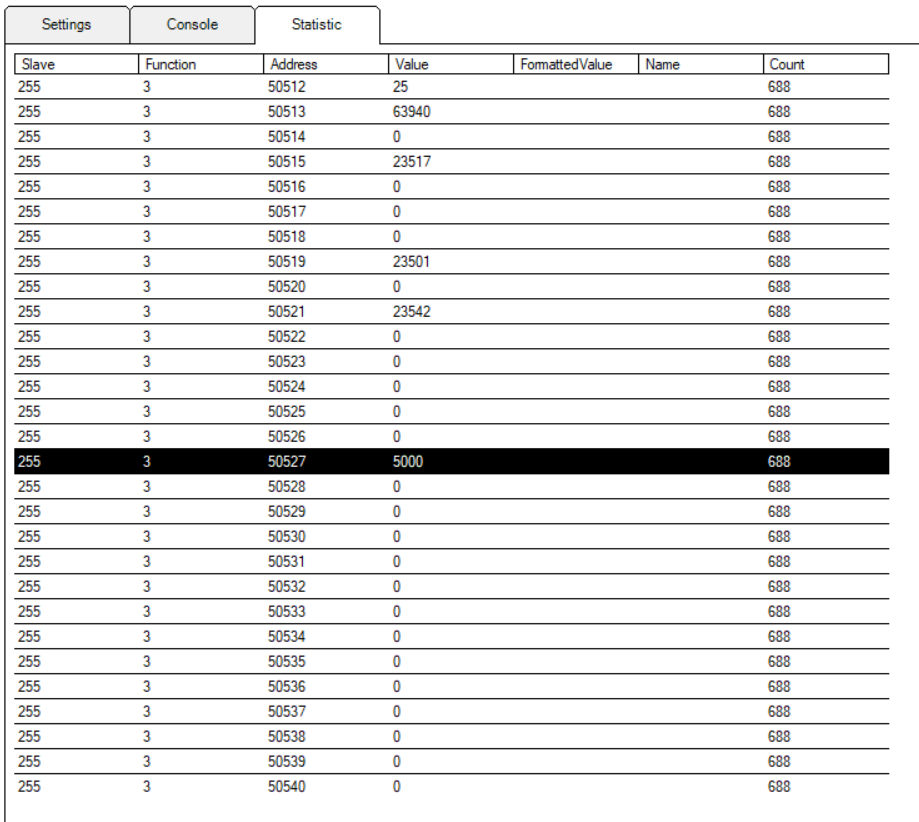
Now once the job as been added open the statistic window should look similar to the one depicted below. Of course the values might be different but they should be read at least. To know the specific values of all registers you have to check the documentation which for this specific meter can be found here. For example the value at address 50527 that is highlighted in the figure and it is the frequency of the powerline.
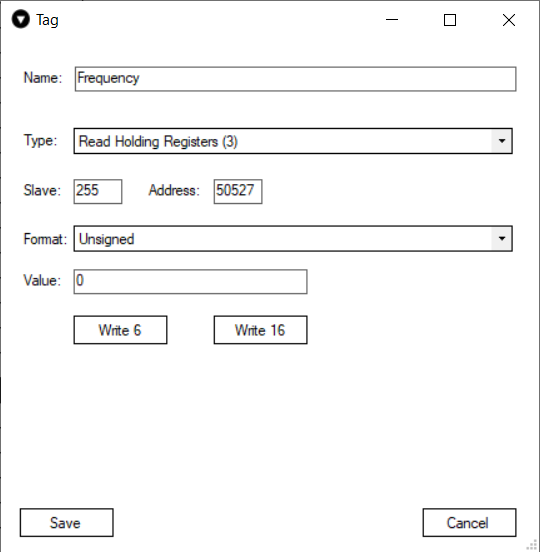
In a lot of cases the values that are held in the registers are multiplied by some factor so that they don't need to be converted from float, however if there is need for some formatting Tags will do just that. The easiest way to create a tag is just to left mouse button double click on the signal and a create tag window will pop up. In this case it's just and unsigned number so there isn't much need for formatting but if it were a 64 bit Float there is an option for that in the Format dropdown menu.
After the tag has been saved the statistics menu will now have 2 extra columns: Formatted Value and Name. Just like you can see in the figure below.
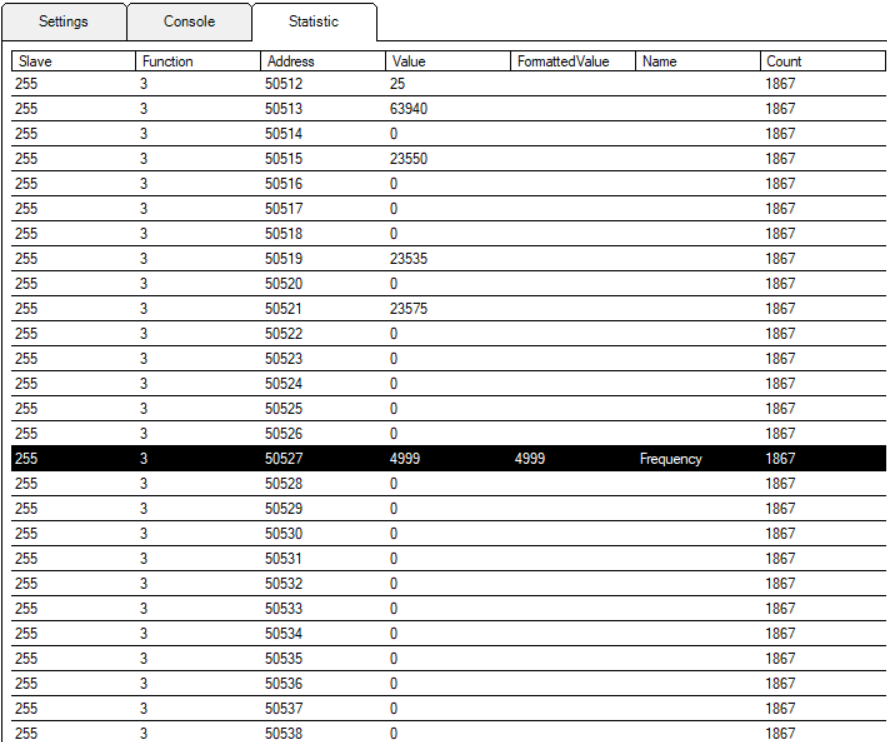
Fig. 8. Statistics window with tag created
And that's about it all there is to do now is to create more jobs if you need more data read or just format the data that is already there using tags.