Upgrading IOMOD from firmware version 1 to firmware version 2
To upgrade the firmware from version 1 to version 2, the user should first connect the IOMOD via a mini USB as required for IOMODs with older firmware. More information on how to set up an IOMOD device for USB configuration can be found in each IOMOD's manual for firmware version 1.
After primary configuration, IOMOD should be configured over PuTTy or other serial terminal programs. The IOMOD configuration interface should look something like in the picture below (each IOMOD's and protocol firmware's interface may vary):
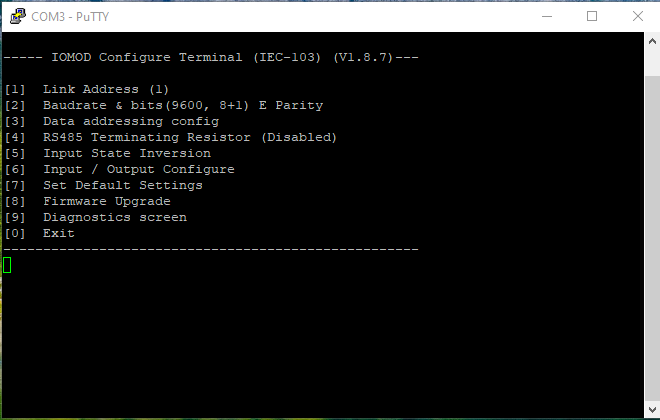
Fig. 1.1. IOMOD configuration interface with Firmware version 1
Using a keyboard, select a [8] Firmware Upgrade and then confirm:
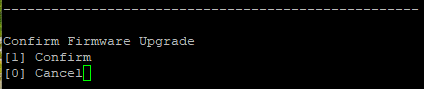
Fig. 1.2. Firmware Upgrade confirmation command on PuTTy interface
After confirming an error message will appear:
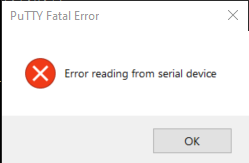
Fig. 1.3 Error message
However, this error message is to be ignored, because the mass storage window will pop up either way:

Fig. 1.4. Mass storage window with IOMOD firmware
Delete the existing file and upload a bootloader (drag and drop), which can be found at the end of this page. After this step, disconnect IOMOD from the USB and connect it again. For the next steps, an IOMOD Utility will be needed. IOMOD Utility software can be downloaded from the IOMODs downloads page. After opening IOMOD Utility, select the USB interface and communication port.

Fig. 1.5. IOMOD Utility window interface and communication port parameters
If the communication port is available and selectable, next click on Scan Devices. A new device will appear on the left side of the IOMOD Utility window Devices.
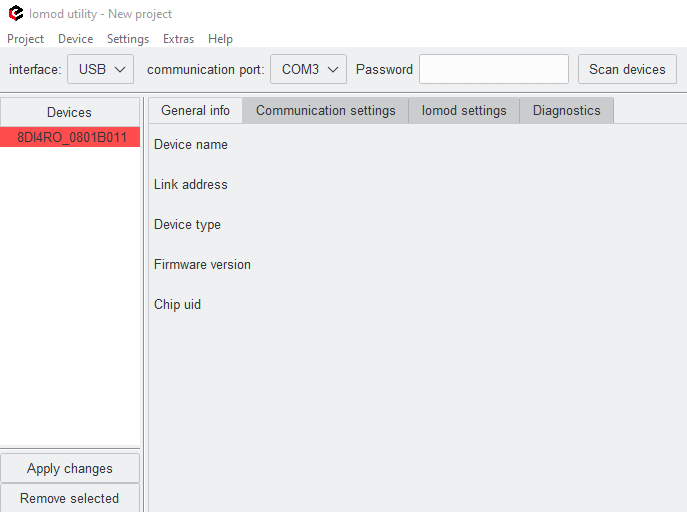
Fig. 1.6 IOMOD Utility window with new device available
As can be seen in Fig. 1.6. the device name is shown in red background. Double-click on the device name. The Bootloader data window will open automatically. There is a button on the bottom of the window "update device".
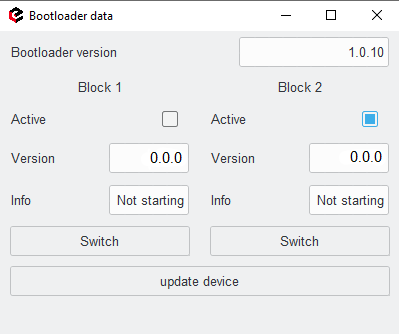
Fig. 1.7. Bootloader data window
After clicking on it a file explorer will open. Select a valid firmware with version 2 and click open. A new firmware will start uploading:
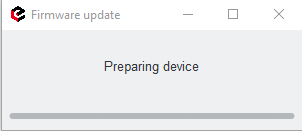
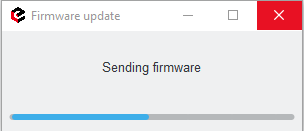
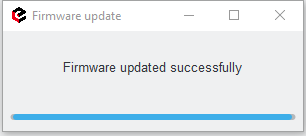
Fig. 1.8. Firmware upgrading process
As seen in the picture above, after a successful firmware upgrade a message indicating that will show up on the screen. If the firmware is not valid, the upgrade was unsuccessful or other problems occurred, repeat the steps from the beginning with IOMOD Utility. After a successful upgrade, disconnect and connect the IOMOD again and click on Scan devices again. A new table will show up on the screen:
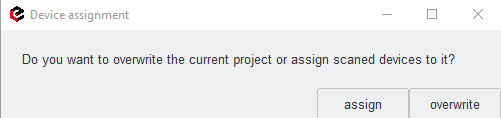
Fig. 1.9. Device/project assignment window on IOMOD Utility
Bootloader --> Download