| **Log output level** | **Description** |
| Emergency | System is unusable |
| Alert | Action must be taken immediately |
| Critical | Critical conditions |
| Error | Error conditions |
| Warning | Potentially hazardous conditions |
| Notice | Normal conditions that might need action |
| Info | Information messages |
| Debug | Debugging messages |
| **Cron log level** | **Description** |
| Debug | Debugging messages |
| Normal | General administrative messages |
| Warning | Potentially hazardous conditions |
It is advised not to use the default password.
##### Password policy [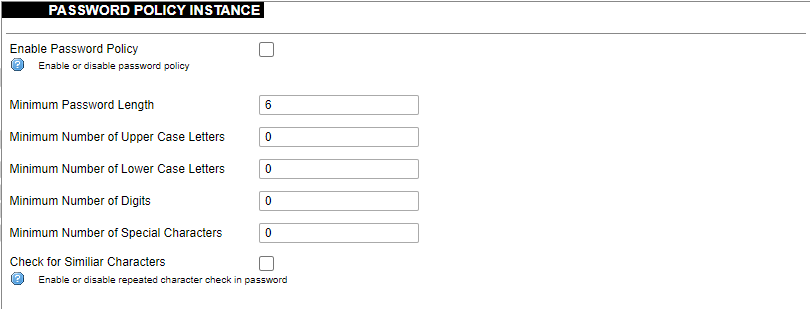](https://wiki.elseta.com/uploads/images/gallery/2023-07/image-1689083560180.png) Users can configure a password policy for future password changes to create a safer password. Here password requirements can be made such as minimum password length, minimum number of upper or lower case letters, digits and special characters. By ticking the box for checking similar characters, a new password will be required not to have repeated characters. ##### SSH Access WCC Lite has a compact secure shell (SSH) server named Dropbear. Multiple options are available to be changed via the WCC Lite web interface, ranging from automatic firewall rules to authentication flexibility. [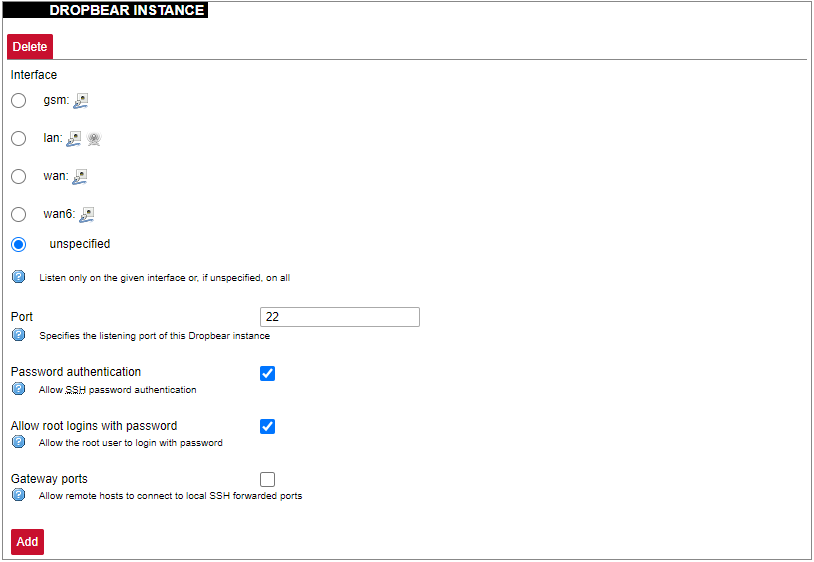](https://wiki.elseta.com/uploads/images/gallery/2023-07/image-1689157365613.png) Dropbear options are defined as follows: Interface: Listen only on the given interface or on all, in unspecified. Port: Specifies the listening port of this interface. Password authentication: Allow SSH password authentication. Allow root logins with password: Allow the root user to log in with the password. Gateway ports: Allow remote hosts to connect to local SSH forwarded ports. #### SSH-keys [](https://wiki.elseta.com/uploads/images/gallery/2020-10/image-1601560050675.png) SSH keys can be added via the WCC Lite web interface. They might be helpful if the user logs into the device frequently and does not want to always have to write his credentials. ##### Login Attempt limiterThis feature is available from firmware version 1.9.1
[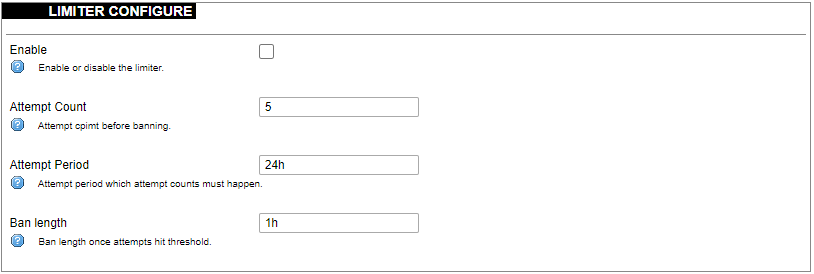](https://wiki.elseta.com/uploads/images/gallery/2024-08/image-1723018327646.png) Enforce a limit of invalid access attempts and deny access from a virtual port for a set time. ##### RADIUS Client [](https://wiki.elseta.com/uploads/images/gallery/2023-07/image-1689157681368.png) RADIUS client redirects user authorization to a remote server, which controls users and their access. A user can add multiple RADIUS clients by clicking add and entering the information required. ##### HTTPS certificate [](https://wiki.elseta.com/uploads/images/gallery/2020-10/image-1601560081935.png) WCC Lite by default is shipped with a default certificate for HTTPS connection. This certificate only enables connecting to the device via a web interface and might cause warnings from a web browser. To eliminate them, the user can use his certificate to secure access to the web interface. Users can use certificates uploaded to a certificate storage. It should be noted that only valid certificates with \*.pem extension can be used. The certificate to be used is validated every time the device is restarted. If validation fails, a default certificate is used. This is done to prevent users from losing device access via the web interface. For the new certificate to come into effect user should restart the device. ### Software Individual packages can be installed via the WCC Lite web interface. They can either be installed using a web link or selected from the pre-defined feeds. [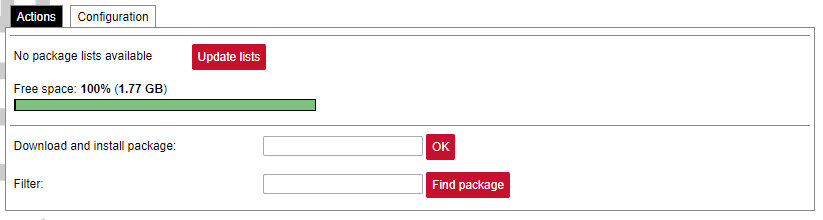](https://wiki.elseta.com/uploads/images/gallery/2024-08/image-1723100604294.png) Various options can be selected when installing packages, however, default ones should work well enough and it’s advised only to change them for advanced users. [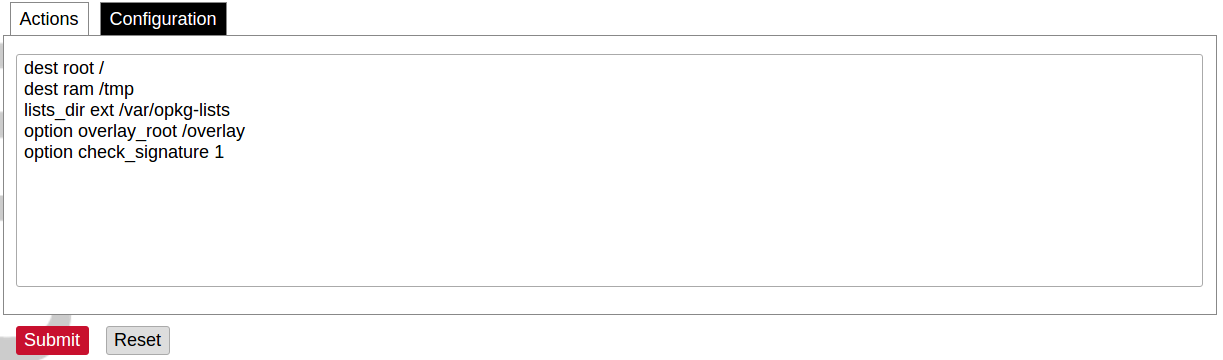](https://wiki.elseta.com/uploads/images/gallery/2020-10/image-1601560339950.png) Feeds from which packages are listed for the update are defined in the Open PacKaGe management (OPKG) configuration that can be changed easily from the user interface. [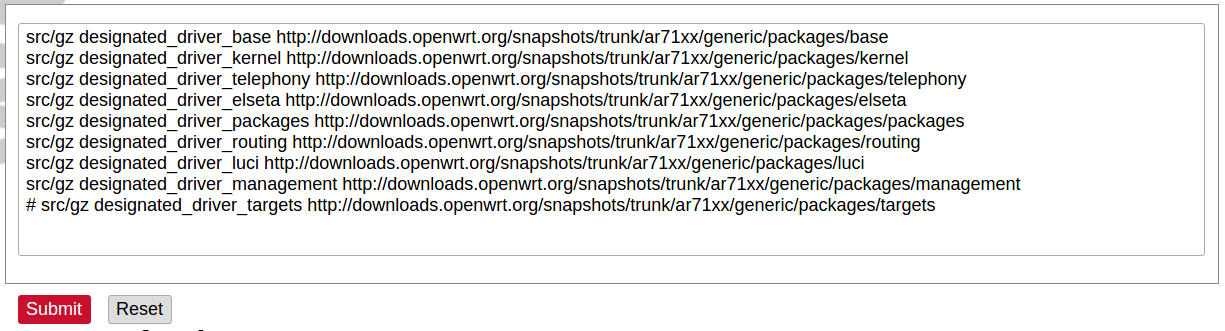](https://wiki.elseta.com/uploads/images/gallery/2020-10/image-1601560359726.png) Specific distribution feeds can also be added for special cases if standard ones do not fit the needs. [](https://wiki.elseta.com/uploads/images/gallery/2020-10/image-1601560377187.png) [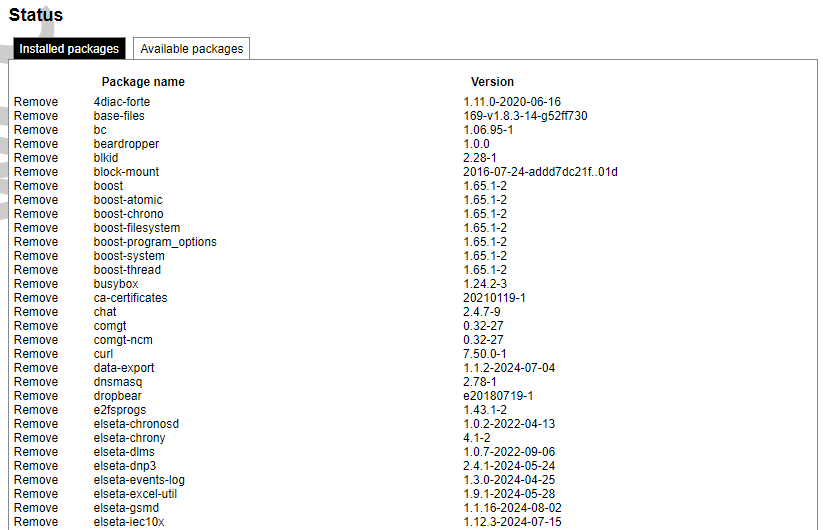](https://wiki.elseta.com/uploads/images/gallery/2024-08/image-1723103500206.png) The installed packages tab indicates every installed package in alphabetical order. Users can also remove certain packages by clicking the Remove button on the left. [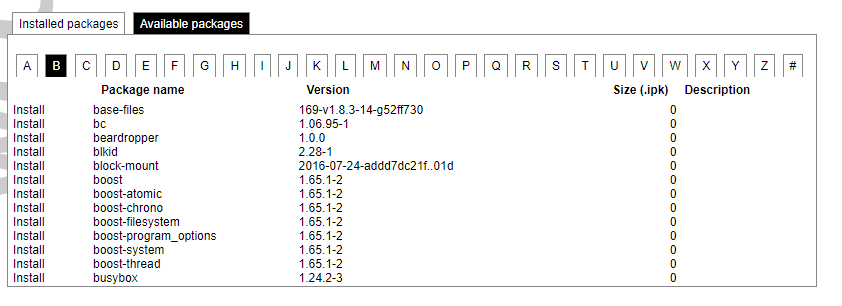](https://wiki.elseta.com/uploads/images/gallery/2024-08/image-1723103835627.png) In this tab, the user can search for a package by the first letter of its name. Those packages are available but not installed, so the user can choose to install them by clicking on the Install button on the left. ### Startup All of the processes that have init.d scripts can optionally be enabled or disabled. This can be very useful if the user intends to use only part of the processes. [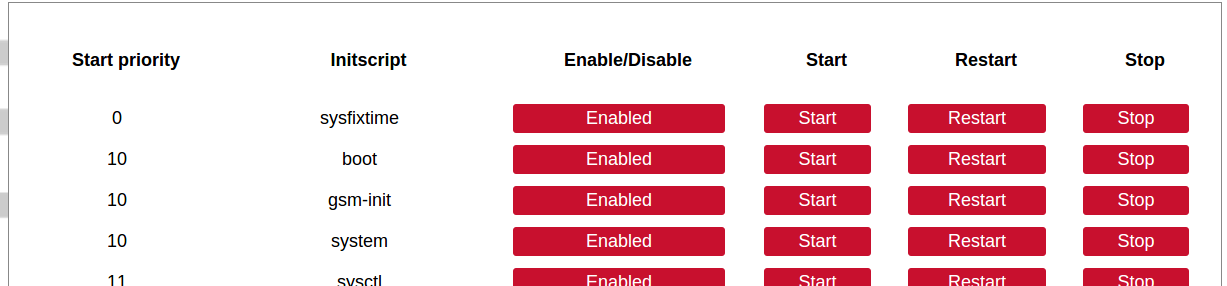](https://wiki.elseta.com/uploads/images/gallery/2020-10/image-1601560412520.png)Users should not disable processes that are essential for device operation as it can render the device unusable.
[](https://wiki.elseta.com/uploads/images/gallery/2020-10/image-1601560436943.png) Users can optionally run scripts and programs on device startup by putting them into a /etc/rc.local file. This file can be updated from the WCC Web interface. ### Scheduled tasks [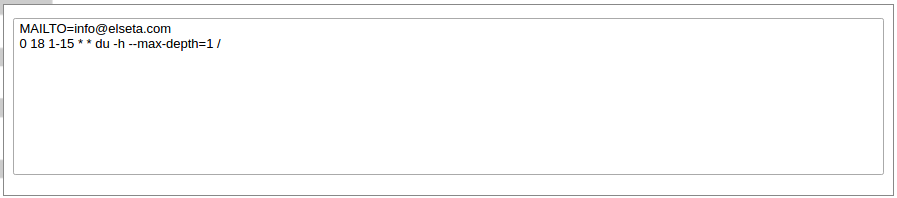](https://wiki.elseta.com/uploads/images/gallery/2020-10/image-1601560465567.png) Various tasks can be scheduled with the system crontab. New tasks can be included by creating and saving new rules conforming to cron rules. WCC Lite accepts full cron configuration functionality. The example in the pictures shows how to execute the disk usage command to get the directory sizes every 6 p.m. on the 1st through the 15th of each month. E-mail is sent to the specified email address. ### Mount points #### Global settings [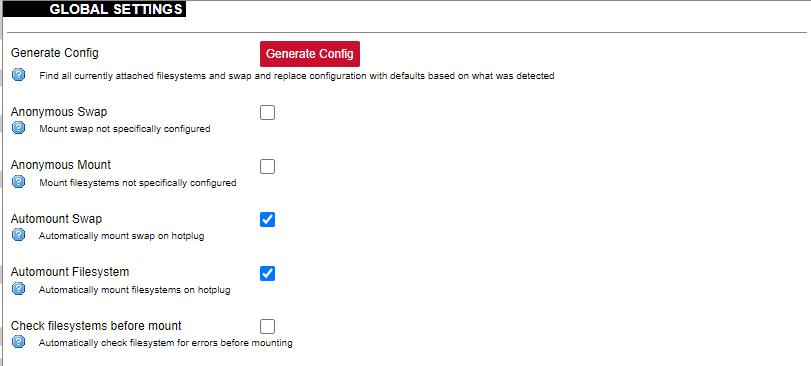](https://wiki.elseta.com/uploads/images/gallery/2023-07/image-1689158646715.png) File system mount point configuration window. Generate Config: Find all currently attached filesystems and swap and replace configuration with defaults based on what was detected. Anonymous Swap: Mount swap not specifically configured. Anonymous Mount: Mount filesystems not specifically configured. Automount Swap: Automatically mount swap on hotplug. Automount Filesystem: Automatically mount filesystems on hotplug. Check filesystems before mount: Automatically check the filesystem for errors before mounting. #### Mounted file systems [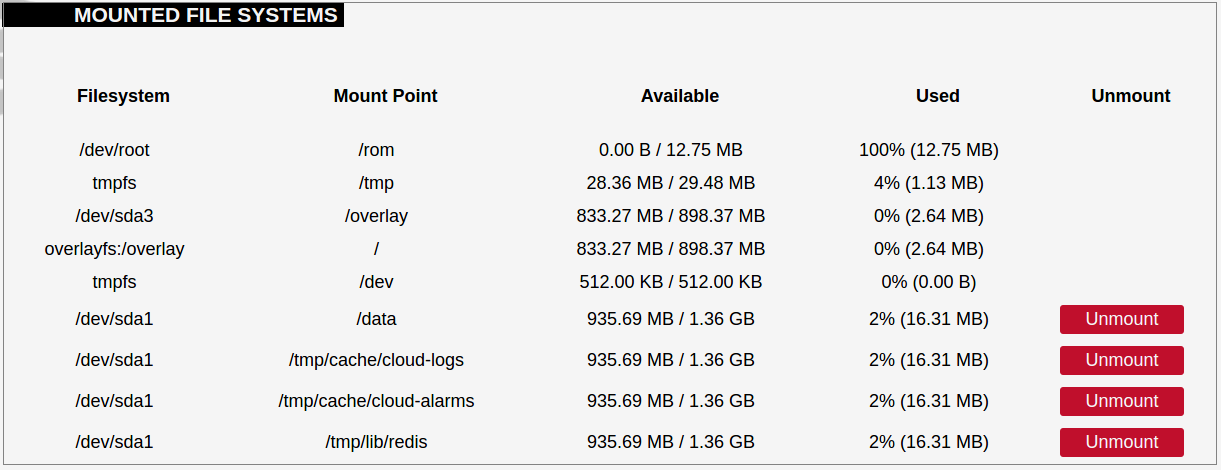](https://wiki.elseta.com/uploads/images/gallery/2020-10/image-1601560579298.png) List of mounted file systems, some of which can be dismounted manually. #### Mount points [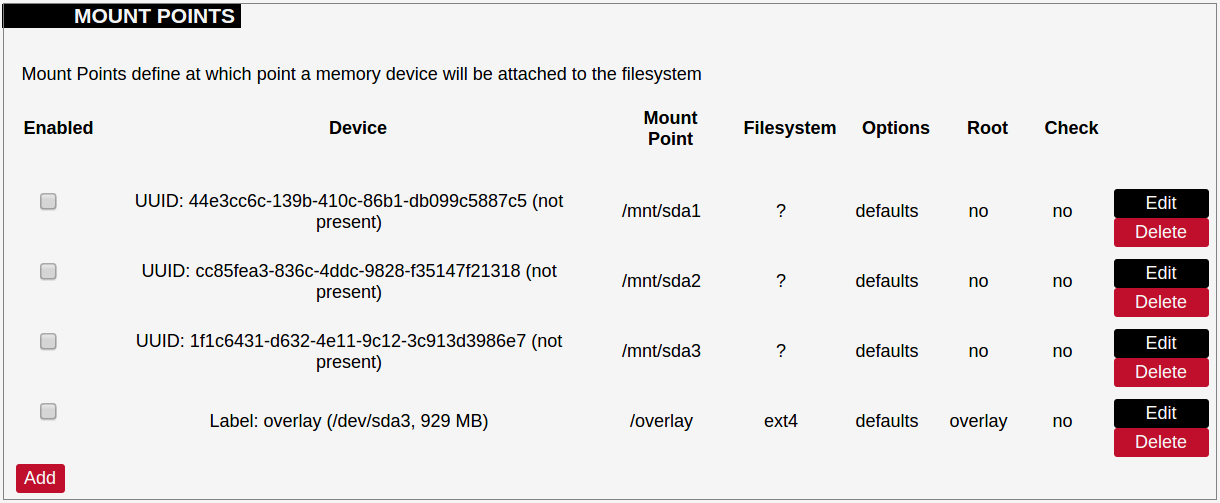](https://wiki.elseta.com/uploads/images/gallery/2020-10/image-1601560604355.png) List of mount points which can be enabled, disabled or deleted. #### Swap The swap section is used to describe the virtual memory that can be used if there’s a lack of main memory. WCC Lite does not use any virtual memory by default. [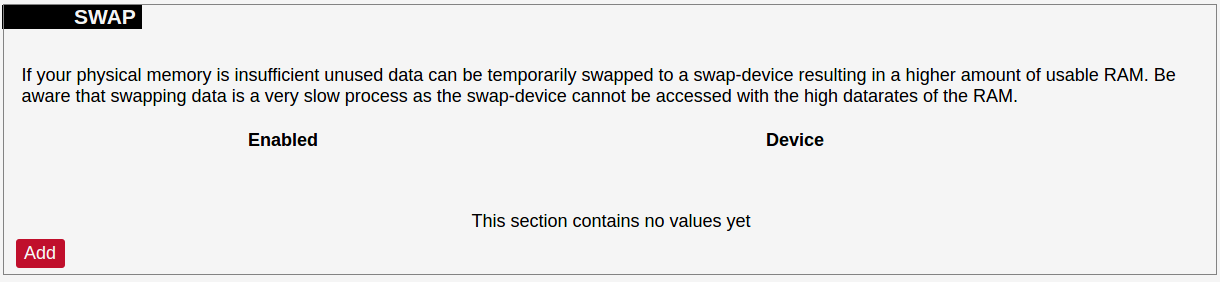](https://wiki.elseta.com/uploads/images/gallery/2020-10/image-1601560651205.png)It should be noted that virtual memory might do a lot of reading and writing operations. As WCC Lite uses an SD card as an additional flash memory, it is highly advised to not use a swap to reduce wearing.
### Board [](https://wiki.elseta.com/uploads/images/gallery/2023-07/image-1689158839403.png) Here a user can configure PORT1 as RS-485 or RS-232. ### Certificate storage [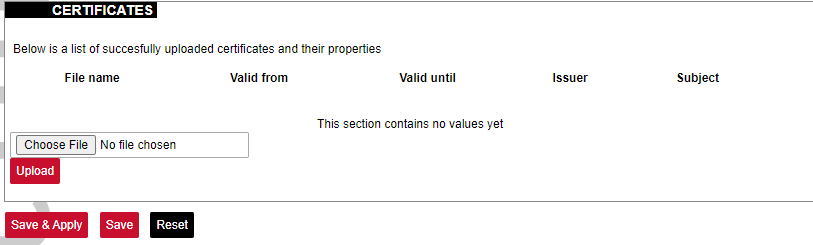](https://wiki.elseta.com/uploads/images/gallery/2023-07/image-1689159555059.png) This section is intended to upload certificate files and view information about them. ### LED configuration WCC Lite has three LEDs that can be configured: WAN, LAN and WLAN. All of the LEDs have a default configuration which should fit most of the cases. [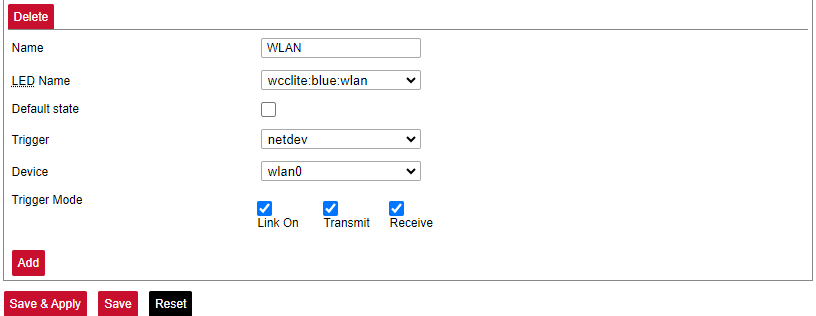](https://wiki.elseta.com/uploads/images/gallery/2023-07/image-1689159741014.png) All possible LED configuration options: Name: Name of the LED configuration. LED Name: Colour and location of the LED. These can be changed, however, normally they should be left unchanged. Default state of the LED: On/Off. Trigger: One of the various triggers can be assigned to an LED to change its state. Possible values are shown in the table below. Table. Possible trigger for an LED:| Trigger type | Description |
| none | No blinking function assigned to the LED |
| defaulton | LED always stays on |
| timer | Blinking according to a predefined timer pattern |
| heartbeat | Simulating actual heartbeats |
| nand-disk | Flashed as data is written to flash memory |
| netdev | Flashes according to link status and send/receive activity |
| phy0rx, phy0tx, phy0radio, phy0tpt, phy0assoc | Flashed on WiFi activity events |
| usbdev | Turned on when the USB device is connected. Applicable for modems |
Please take care choosing a time sync method. If both NTP and IEC 60870-5 protocol slave interface time sync methods are activated simultaneously, they can interfere if there is a time difference. We strongly recommend using a single-time sync method to prevent time interference.
Time synchronization options are defined as: Enable NTP client: The local time of the device will sync with external time servers. Provide NTP server: Turn the device into a local NTP server. NTP server candidates: The network time protocol servers. ### Backup/flash firmware Software update allows to upgrade of the software running in WCC Lite. It is recommended to keep the device up to date to receive the latest features and stability fixes. Backup archives contain complete WCC Lite configuration that can be restored at any time. A file will be downloaded by your browser when creating a backup. This file can be later uploaded to the web page to restore configuration.The generated backup archive should only be applied to the same firmware version it was generated. Applying backup to a different firmware version might render some parts of the operating system unstable or even unusable
[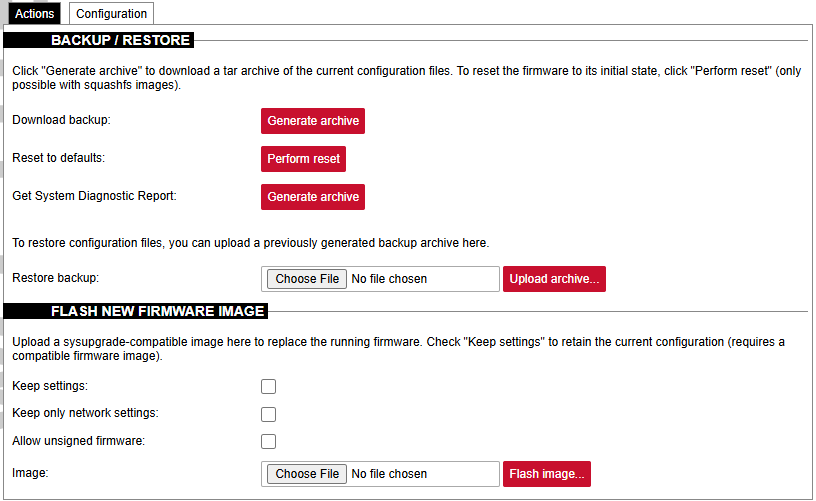](https://wiki.elseta.com/uploads/images/gallery/2024-12/image-1734076844325.png)Since version 1.8.3, users can save network settings before upgrading the firmware, such as firewall settings, traffic rules, interfaces etc. To do so, before upgrading firmware, the "Keep only network settings:" box should be checked.
Since version 1.10 all firmware files are signed and have different file extensions. If there is a need to downgrade a firmware version from 1.10, the *Allow unsigned firmware* box should be checked.
A user can choose to keep existing settings after an upgrade. Marking the Keep Settings checkbox preserves files listed in /etc/sysupgrade.conf and /lib/upgrade/keep.d/. It is advised to do a clean install and use backup files to restore settings later if a user intends to make a major system upgrade.Uploading firmware images, to preserve RAM, will stop all Protocol HUB processes. After upload, you will have 2 minutes to proceed with firmware flash or to cancel it. After 2 minutes, the firmware file will be deleted and Protocol HUB processes will be restarted.
[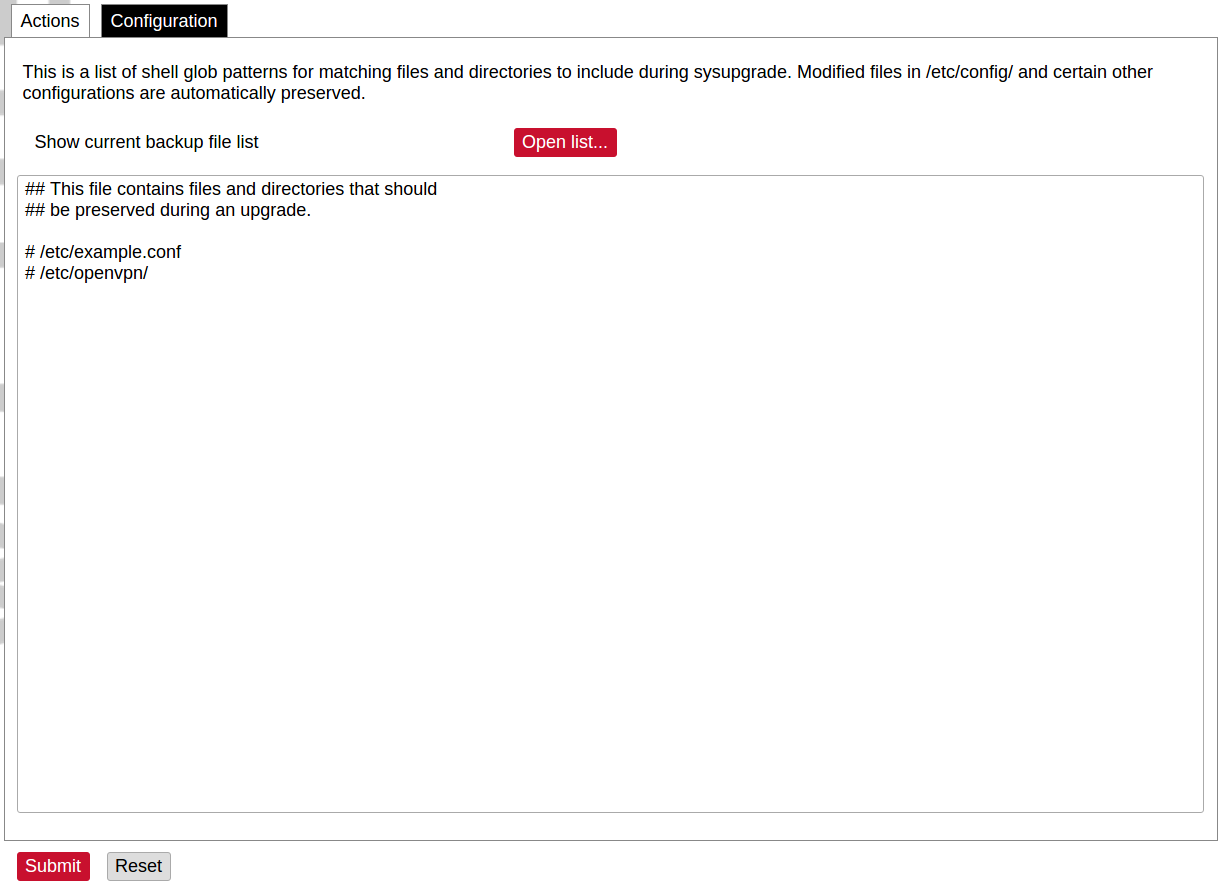](https://wiki.elseta.com/uploads/images/gallery/2020-10/image-1601561479820.png) A file name /etc/sysupgrade.conf can be updated via the WCC Web interface. To preserve additional files user should add them to the backup file and press Submit. To get the whole list of files that would be backed up press Open list... It is advised to check it before doing a backup or an upgrade while keeping settings. ### Reboot [](https://wiki.elseta.com/uploads/images/gallery/2020-10/image-1601561516242.png) This reboots the operating system of the device.